
Magento 2 Create Admin Menu
The admin menu in Magento 2 provides a way to add new items and their corresponding submenus to the main admin menu in the backend of the Magento application. By creating an admin menu, you can add new features or functionalities to your Magento 2 store, allowing you to easily manage your store’s data and operations. In this guide, we will discuss to create admin menu in Magento 2.
Directory Structure
app/code/GDBlogger/DemoModule/
├── Controller
│   └── Adminhtml
│       └── FirstSubmenu
│           └── Index.php
│       └── SecondSubmenu.php
│           └── Index.php
├── etc
│   └── adminhtml
│       └── menu.xml
│ 	  └── routes.xml
│   └── module.xml
├── registration.php
Steps To Create Admin Menu In Magento 2
- Create a module
- Create a menu.xml file
- Create routes.xml
- Create controller classes
Create A Module
In the previous guide, we discussed How to create a module in Magento 2, you can study if you don’t know about that.
Create a menu.xml file
To create the menu.xml file. First, you need to create the adminhtml folder inside the etc folder. Now create the menu.xml file inside the adminhtml folder. And define your menu.xml code to create a menu and submenu.
Directory
app/code/GDBlogger/DemoModule/etc/adminhtml/menu.xml
Code of menu.xml
<?xml version="1.0"?>
<config xmlns:xsi="http://www.w3.org/2001/XMLSchema-instance" xsi:noNamespaceSchemaLocation="urn:magento:module:Magento_Backend:etc/menu.xsd">
    <menu>
        <add id="GDBlogger_DemoModule::mymenu" title="My Menu" module="GDBlogger_DemoModule" sortOrder="20" resource="GDBlogger_DemoModule::mymenu"/>
        <add id="GDBlogger_DemoModule::first_submenu" title="First Submenu" module="GDBlogger_DemoModule" sortOrder="10" parent="GDBlogger_DemoModule::mymenu" action="myroute/firstsubmenu/index" resource="GDBlogger_DemoModule::first_submenu"/>
        <add id="GDBlogger_DemoModule::second_submenu" title="Second Submenu" module="GDBlogger_DemoModule" sortOrder="20" parent="GDBlogger_DemoModule::mymenu" action="myroute/secondsubmenu/index" resource="GDBlogger_DemoModule::second_submenu"/>
    </menu>
</config>

In the code above, we defined a custom admin menu with the ID “GDBlogger_DemoModule::mymenu” and the title “My Custom Menu”. We then defined two submenus with IDs “GDBlogger_DemoModule::first_submenu” and “GDBlogger_DemoModule::second_submenu”, and their respective titles “First Submenu” and “Second Submenu”. We also defined the sort order for each menu item and specified their parent menu item ID. Lastly, we specified the action URLs for each submenu item, which will be used to load the corresponding controllers.
Create routes.xml
In etc/adminhtml, create define the routes.xml file.
Directory
app/code/GDBlogger/DemoModule/etc/adminhtml/routes.xml
Code of routes.xml
<?xml version="1.0"?>
<config xmlns:xsi="http://www.w3.org/2001/XMLSchema-instance" xsi:noNamespaceSchemaLocation="urn:magento:framework:App/etc/routes.xsd">
<router id="admin">
<route id="myroute" frontName="myroute">
<module name="GDBlogger_DemoModule"/>
</route>
</router>
</config>
Create Controller Classes
Next, we need to create the controller classes that will handle the actions for each submenu item. We will create two controller classes, one for each submenu item.
In the previous guide, we discussed in detail to create a controller in Magento 2. You can also study that.
For example, to create a controller for the “First Submenu” item, we would create the file:
Directory
app/code/GDBlogger/DemoModule/Controller/Adminhtml/FirstSubmenu/Index.php
Code of Index.php
<?php
namespace GDBlogger\DemoModule\Controller\Adminhtml\FirstSubmenu;
class Index extends \Magento\Backend\App\Action
{
protected $resultPageFactory = false;
public function __construct(
\Magento\Backend\App\Action\Context $context,
\Magento\Framework\View\Result\PageFactory $resultPageFactory
) {
parent::__construct($context);
$this->resultPageFactory = $resultPageFactory;
}
public function execute()
{
$resultPage = $this->resultPageFactory->create();
$resultPage->setActiveMenu('GDBlogger_DemoModule::mymenu');
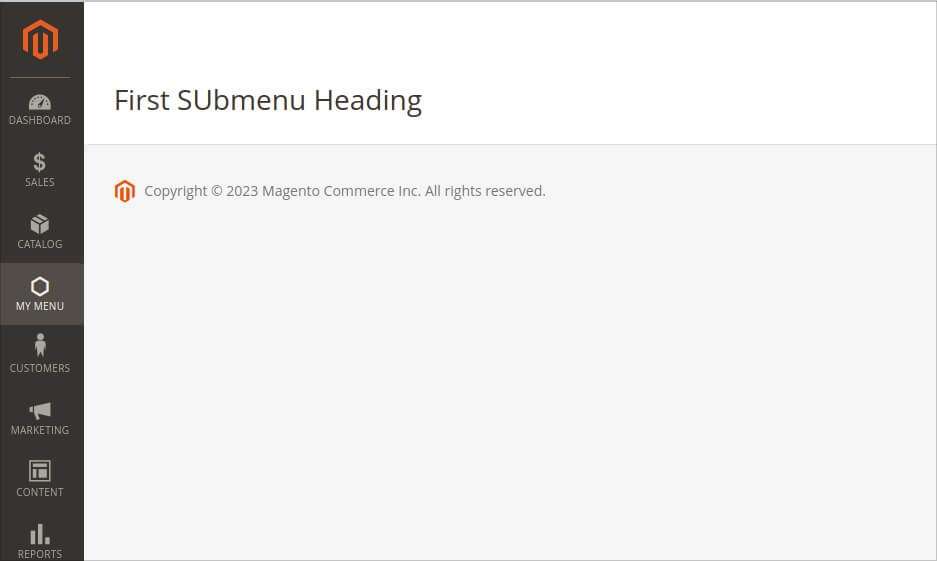
$resultPage->getConfig()->getTitle()->prepend(__('First SUbmenu Heading'));
return $resultPage;
}
protected function _isAllowed()
{
return $this->_authorization->isAllowed('GDBlogger_DemoModule::mymenu');
}
}
I hope this guide will be helpful to you. Please do not hesitate to contact us through the comments section if you have any further questions.

